_png.png)
Mastering Tile Installation Techniques for Lasting Results
- Dec 22, 2025
- 4 min read
Tile installation demands precision. It requires skill. I know this from years of hands-on experience. Whether you’re upgrading a kitchen backsplash or revamping a commercial lobby, mastering tile installation techniques is non-negotiable. This post breaks down the essentials. It delivers clear, actionable steps. No fluff. Just what you need to get the job done right.
Tile work transforms spaces. It adds value. It boosts curb appeal. But poor installation ruins everything. Cracked tiles, uneven grout lines, and water damage are common pitfalls. Avoid them by following proven methods. I’ll guide you through the process from start to finish.
Essential Tile Installation Techniques You Must Know
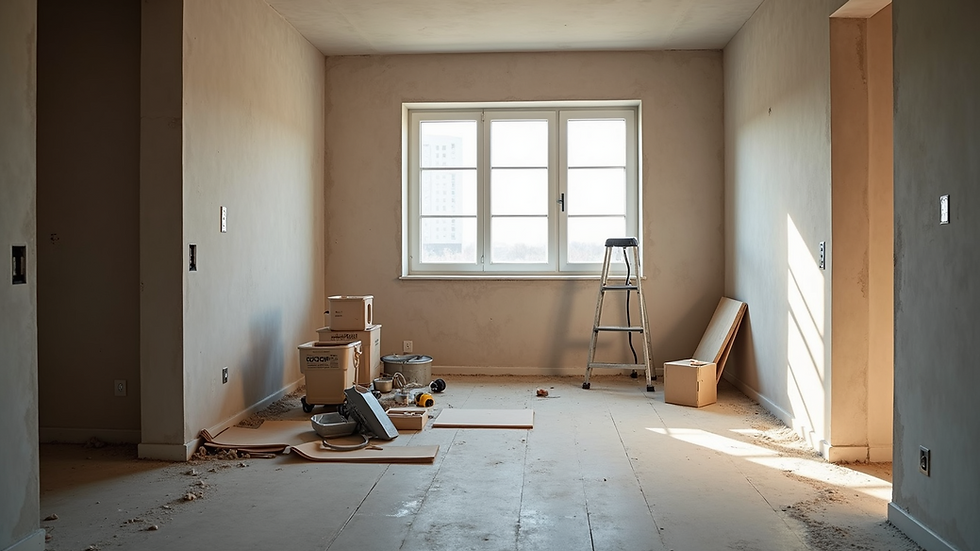
Start with preparation. The surface must be clean, dry, and level. Uneven floors or walls cause tiles to crack or pop loose. Use a leveling compound if needed. Remove old adhesive or paint. This ensures strong bonding.
Next, choose the right adhesive. Thinset mortar is the industry standard. It offers durability and water resistance. Mix it to a peanut butter consistency. Apply with a notched trowel. The size of the notch depends on tile size. Larger tiles need bigger notches for proper coverage.
Lay tiles carefully. Use spacers to maintain consistent grout lines. Press tiles firmly into the mortar. Tap with a rubber mallet to set them evenly. Check alignment frequently. A laser level or chalk line helps keep rows straight.
Cut tiles precisely. Use a wet saw for clean edges. Measure twice, cut once. For curves or odd shapes, a tile nipper or angle grinder works well. Always wear safety gear.
Grouting comes next. Wait 24 hours after setting tiles. Mix grout to a smooth paste. Spread it diagonally across tiles with a rubber float. Remove excess grout quickly. Let it cure, then seal grout lines to prevent stains and moisture damage.

Tools and Materials That Make Tile Installation Easier
Invest in quality tools. They save time and improve results. Here’s what you need:
Notched trowel: Different sizes for different tile dimensions.
Tile spacers: Keep grout lines uniform.
Wet saw: For straight, clean cuts.
Rubber mallet: Set tiles without damage.
Grout float: Spread grout evenly.
Level and chalk line: Ensure straight rows.
Tile nippers: For small cuts and curves.
Safety gear: Gloves, goggles, and knee pads.
Materials matter too. Choose tiles suited for the space. Porcelain and ceramic are popular for durability. Natural stone adds luxury but needs sealing. Pick grout color that complements tile and room design.
Plan your layout before starting. Dry-lay tiles to visualize the pattern. Adjust to avoid tiny slivers at edges. This step prevents awkward cuts and improves aesthetics.
Is it Cheaper to DIY or Hire a Tile Installer?
Cost is a major factor. DIY tile installation saves labor fees but demands time and skill. Mistakes can be costly. Replacing broken tiles or fixing uneven grout adds up.
Hiring a professional tile installer costs more upfront. But it guarantees quality and speed. Pros have experience with tricky cuts, complex patterns, and surface prep. They avoid common errors that lead to repairs.
Consider your project size. Small backsplash jobs might be manageable DIY. Large floors or commercial spaces benefit from expert hands. Also, factor in your tools. Buying or renting equipment adds to DIY expenses.
Ultimately, weigh your confidence and schedule. If you want flawless results fast, hire a pro. If you enjoy hands-on work and have patience, DIY can work.
Avoiding Common Tile Installation Mistakes
Mistakes ruin tile jobs. Here’s what to watch for:
Skipping surface prep: Leads to loose tiles and cracks.
Using wrong adhesive: Causes poor bonding or water damage.
Ignoring tile layout: Results in uneven cuts and bad aesthetics.
Uneven mortar application: Tiles won’t sit flat.
Not allowing proper curing time: Grout and mortar weaken.
Poor grout sealing: Leads to stains and mold.
Fix these by following steps carefully. Take your time. Double-check measurements. Use the right materials. When in doubt, consult a professional.
Why Choose custom tile installations for Your Next Project
Custom tile installations elevate any space. They reflect your style and meet your needs. I recommend working with experts who understand local conditions and materials. Tucson’s climate demands durable, moisture-resistant solutions.
A trusted contractor ensures:
Precise surface prep tailored to your property.
Expert selection of tile and grout materials.
Flawless execution using advanced tile installation techniques.
Long-lasting results that withstand wear and weather.
Partnering with a reliable team saves headaches. It protects your investment. It delivers stunning, professional finishes every time.

Take Control of Your Tile Installation Project Today
Don’t settle for mediocre tile work. Master the basics. Use the right tools. Plan your layout. Decide if DIY fits your skills or if hiring a pro is smarter.
Remember, quality tile installation adds value and beauty. It protects your surfaces. It lasts for years.
Start your project with confidence. Use these tile installation techniques. Reach out to experts when needed. Your space deserves nothing less than perfection.


Comments